AI sharpening vs basic sharpening
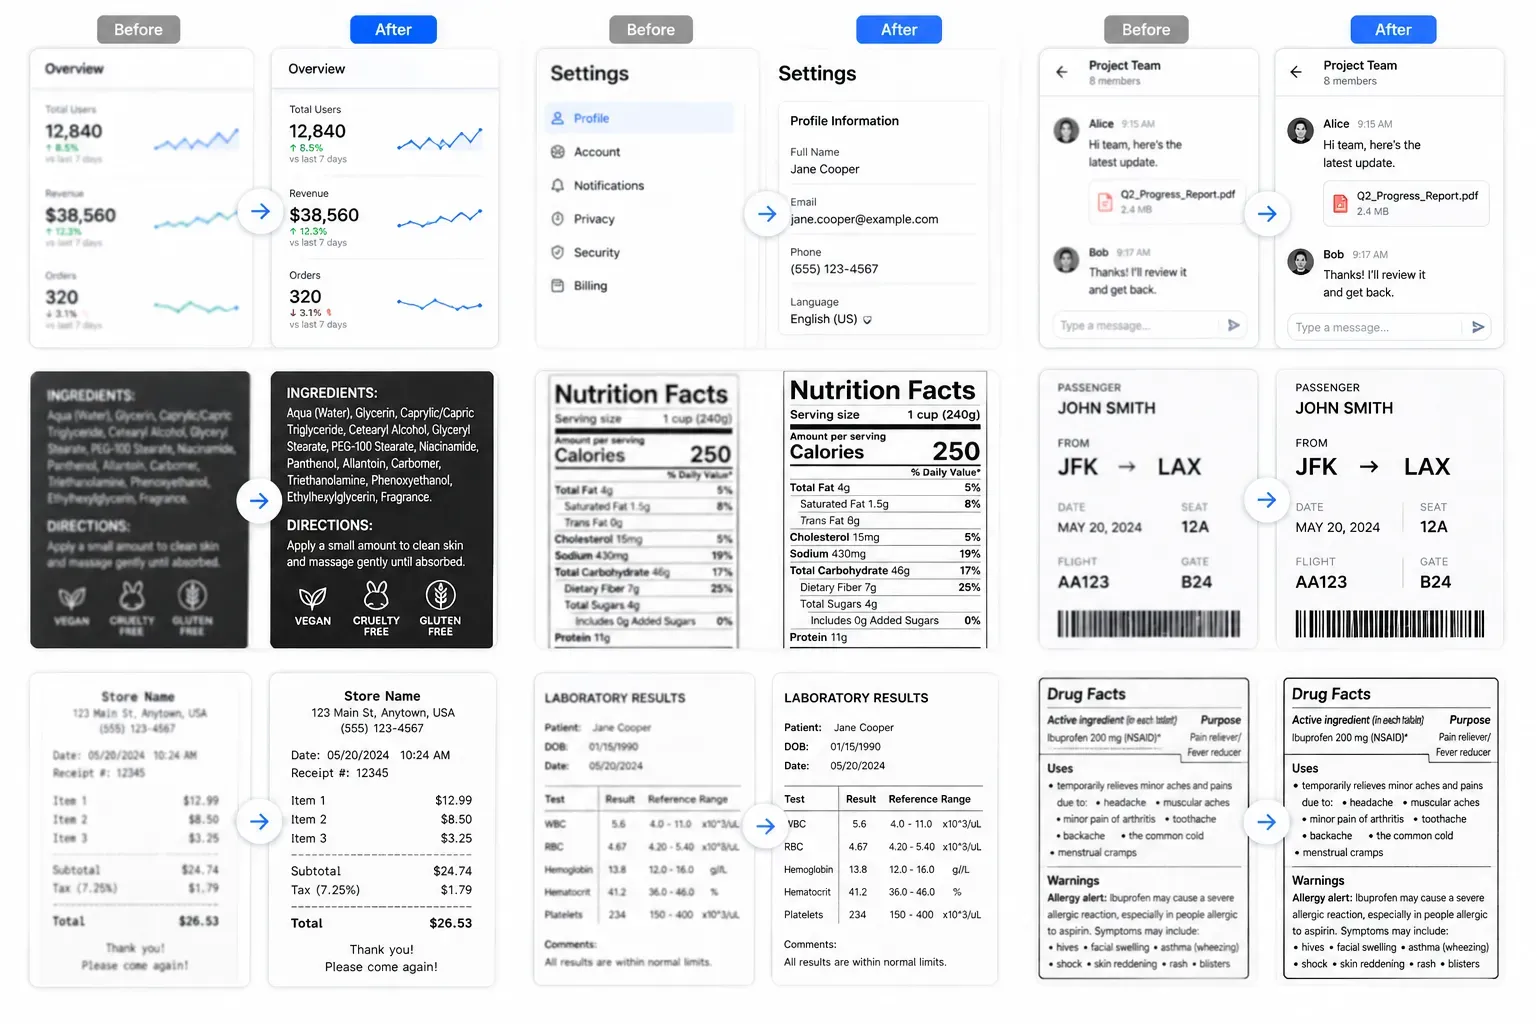
Traditional sharpening increases edge contrast. AI sharpening tries to enhance detail more intelligently, which can look cleaner on mild blur, screenshots, and product photos.
AI image clarity tool
Sharpening a blurry image is useful when the photo is close to good but lacks crispness. AI enhancement can make edges, small text, and subject detail look cleaner than a basic sharpen filter, as long as the original image still contains recoverable detail.
or click to browse from your device
Traditional sharpening increases edge contrast. AI sharpening tries to enhance detail more intelligently, which can look cleaner on mild blur, screenshots, and product photos.
Already sharp photos can become harsh if processed again. Use this page when the image is visibly soft, not as a default step for every upload.
If bright outlines, rough texture, or strange facial detail appears, the source may be too compressed or too blurry for a clean enhancement.
Practical expectations
A listing photo looks soft after export.
A tutorial screenshot is readable but not crisp.
An old image needs a small clarity boost before sharing.
How it works
Upload the best version of your image, run the AI enhancer, compare the result, and download the clearer copy when it looks natural.
Upload the blurry image you want to sharpen.
Let the AI enhancer process the file.
Inspect edges, faces, product labels, and text.
Download the sharpened result if it looks cleaner without artifacts.
They overlap, but sharpening usually improves edge contrast while AI unblur tries to recover a cleaner-looking image from mild blur.
It may help very mild motion blur, but heavy motion blur usually cannot be fully fixed.
Not exactly. Sharpening improves perceived clarity. It is different from resizing or upscaling.
Use the unblur tool on this page, check the result carefully, and download the version that looks clean enough for your next use.
Sharpen image now