Preview before downloading
Check the edited image before saving so you can confirm the sensitive area is actually hidden.
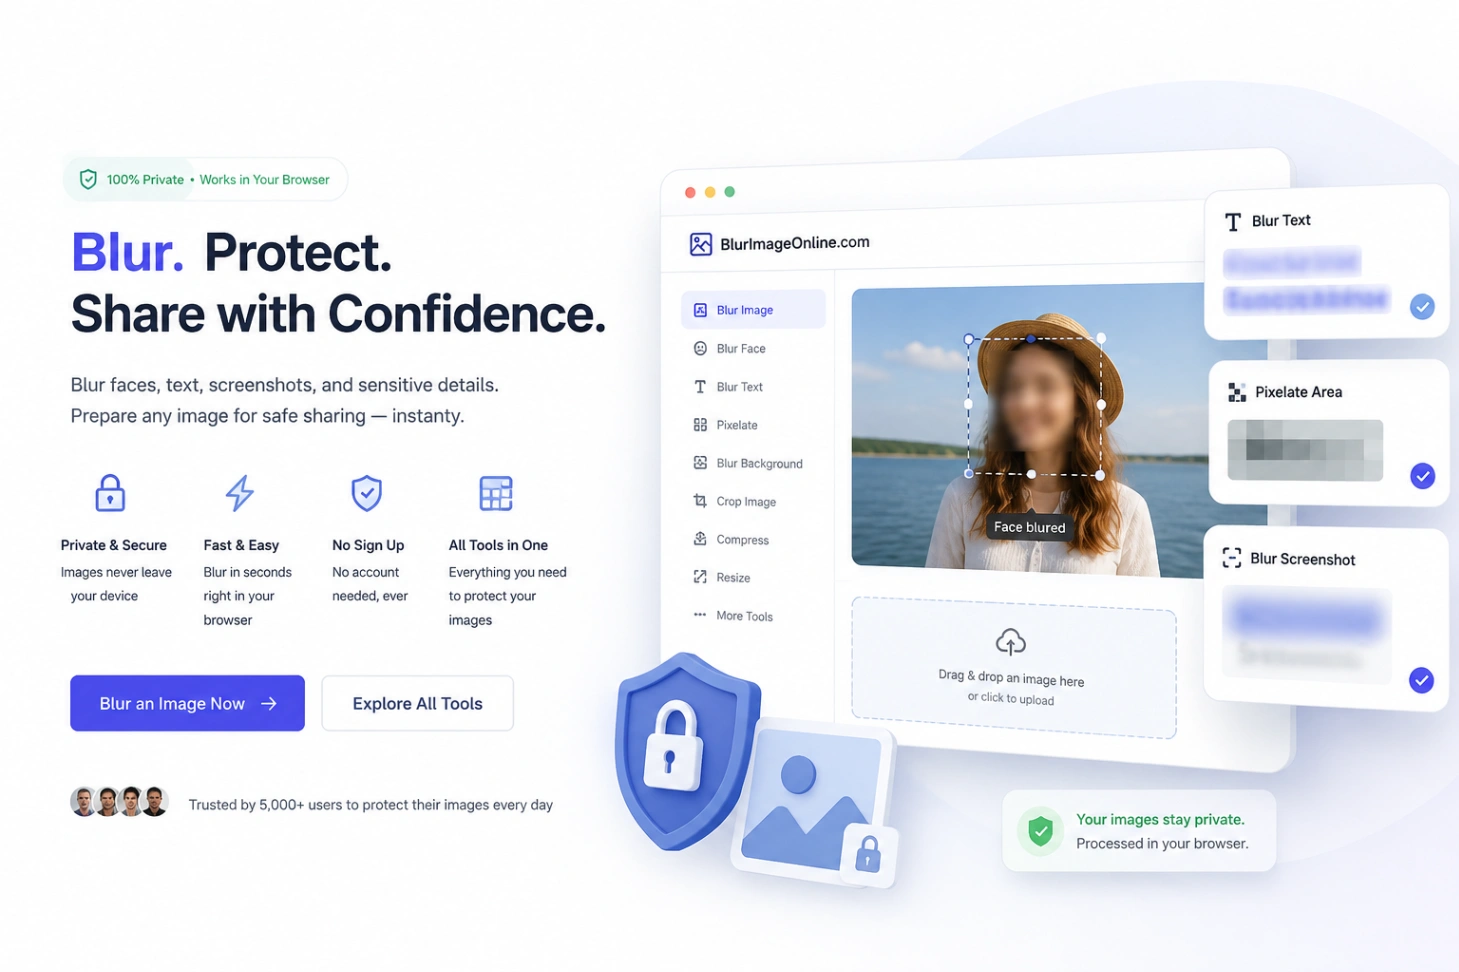
Image privacy toolkit
Blur Image Online is being built around a simple idea: before an image leaves your device, you should have practical tools to hide private details, prepare the file, and share it with more confidence.
Related image tools
Use this quick guide when you are not sure which image tool fits your task.
Best for hiding faces, names, license plates, screenshots, and distracting backgrounds before sharing.
Best for shrinking JPG, PNG, and WebP images before uploading them to a website or sending them online.
Best for changing image dimensions for websites, avatars, product photos, social posts, and email attachments.
Best for mildly blurry photos, soft screenshots, product images, and quick AI sharpening tasks.
Best for saving thumbnails, tutorial frames, references, and still images from videos.
Best for giving portraits, social posts, and creative visuals a warmer retro film texture.
Privacy and control
A good blur tool should be simple, but it also needs to help you avoid accidental oversharing. The workflow keeps preview, adjustment, and export close together.
Check the edited image before saving so you can confirm the sensitive area is actually hidden.
Use batch blur for full-image effects or paint blur when only one face, label, or text block needs protection.
Start editing without registration, subscriptions, or a long onboarding flow.
Download the finished image and use it in posts, presentations, support tickets, or documentation.
Image privacy toolkit
Use Blur Image Online for everyday privacy edits before sharing photos, screenshots, documents, or website visuals.
Start with the common privacy edits people need before publishing photos, screenshots, listings, or support images.
After privacy edits, keep the final image practical with smaller files, better dimensions, or a useful frame from a video.
When the problem is not hiding information but making a soft image easier to read, use the clarity tools and guides.
Use focused guides for the moments when a quick privacy check can prevent an accidental overshare.
Choose by workflow
Most image tasks fall into one of three workflows: protect private information, prepare images for publishing, or improve a visual before using it.
Start with Blur Image when you need to hide faces, addresses, emails, license plates, or screenshot details.
Use batch blur for full-image effects or paint blur when only one face, label, or text block needs protection.
Check the edited image before saving so you can confirm the sensitive area is actually hidden.
Questions people ask
A few practical notes for choosing the right tool and avoiding accidental oversharing.
Images are enhanced locally in your browser. The AI model downloads only when you run the tool and is cached for later visits.
Start with Blur Image. Hide faces, text, plates, screens, labels, or location clues first. Then compress or resize the final copy if you need a smaller file.
Not reliably. AI enhancement can improve clarity, but privacy checks should still be manual. Always inspect the final image before you publish it.
Blurring hides visible pixels, not every kind of metadata. If location or camera data matters, remove metadata separately before sharing the file.